If you own an older home like mine—a 1948 brick colonial near Pittsburgh—you already know that the basement is the coldest, dampest part of the house. And if you’ve been looking into fixing that, you’ve probably come across the idea of **insulating basement walls with rigid foam**. It’s one of those projects that sounds more complicated than it is, but done right, it can transform your basement from a drafty storage zone into a dry, comfortable space that saves you money on heating. I’ve done it myself, and I’ve helped other families decide if it’s worth the time and materials. Spoiler: for most old houses, it is.
Rigid foam insulation works better than fiberglass batts in basements because it doesn’t soak up moisture like a sponge. Old basements are prone to dampness, and wet insulation is useless insulation. Plus, rigid foam adds a continuous air seal that fiberglass can’t match. When you’re dealing with a house that was built before energy codes existed, every little bit of sealing helps.
Why Rigid Foam Works Best for Old-House Basements
Basement walls are different from above-grade walls. They touch soil, which means they’re cooler and more likely to have moisture migrating through the concrete or block. Fiberglass batts tucked against a damp wall will eventually get wet, lose R-value, and potentially grow mold. Rigid foam, on the other hand, is resistant to water and doesn’t wick moisture. Even if the wall is slightly damp, the foam stays dry and effective.
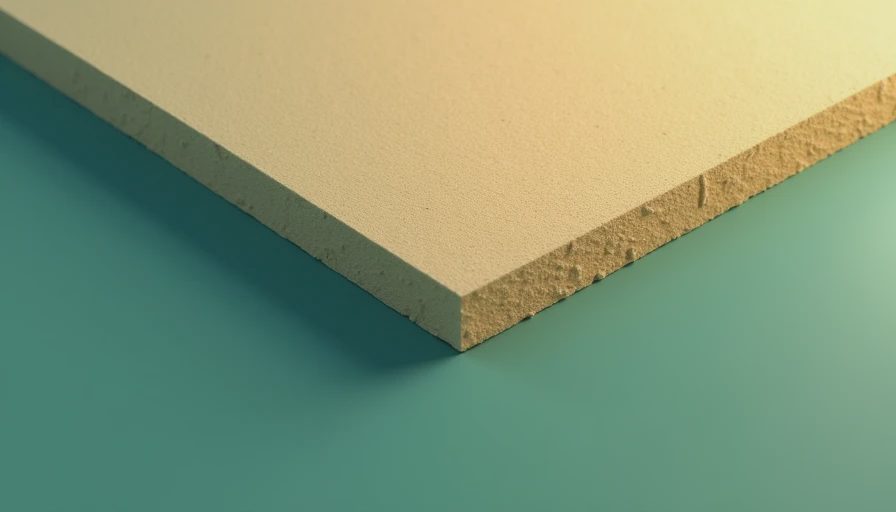
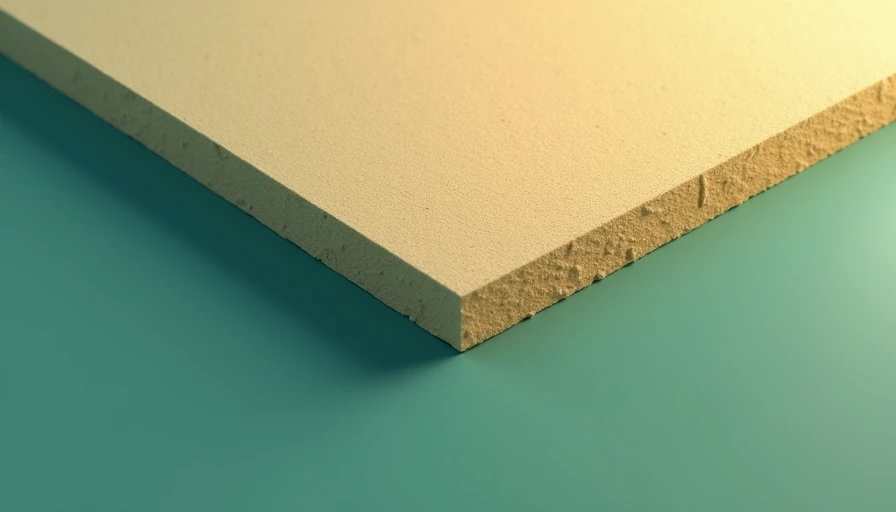
There are three common types: EPS (expanded polystyrene), XPS (extruded polystyrene), and polyiso (polyisocyanurate). For basement walls, I usually recommend XPS because it has a higher R-value per inch than EPS and is more moisture-resistant than polyiso, which can lose R-value in cold temperatures. A typical 2-inch XPS board gives you about R-10, which is a good starting point for most climates in the East Coast and Midwest. If you’re in a colder zone, you might go with 3 inches for R-15.
What You Need Before You Start
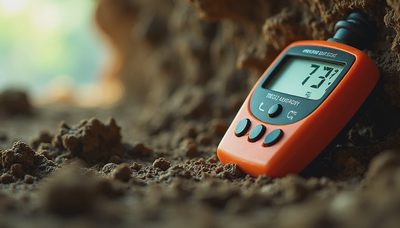
Before you buy a single foam board, you need to make sure your basement isn’t actively leaking. **Insulating basement walls with rigid foam** will lock in any moisture problems if you don’t fix them first. Check for standing water, wet spots on walls, or a musty smell. If you see efflorescence (white powdery residue) on the concrete, that means water has been moving through the wall. Address drainage outside, install a sump pump, or apply a waterproof coating before you insulate.
Once your basement is dry, gather these materials:
- Rigid foam boards (XPS or EPS, 2-inch thick or more)
- Construction adhesive (foam-compatible, like PL-300 or Loctite Heavy Duty)
- Foam tape or canned spray foam for seams and edges
- A utility knife or a saw for cutting boards
- A tape measure and straightedge
- Optional: pressure-treated 2x4s for framing if you plan to finish the wall later
For safety, wear a dust mask when cutting rigid foam—the dust can be irritating. And never use rigid foam without a fire barrier if the basement is habitable space. Most building codes require a layer of drywall or intumescent paint over the foam.
Step-by-Step: Installing Rigid Foam on Basement Walls
Here’s the process I’ve used in my own house and in client homes. It’s straightforward but worth doing carefully.
**1. Clean the wall.** Scrub off any loose paint, dirt, or efflorescence. Let the wall dry completely. A wire brush and a shop vac work fine.
**2. Cut the foam boards.** Measure the height of your wall from floor to sill plate. Cut the boards to size, leaving a small gap at the bottom for any potential water intrusion (about 1/4 inch). Use a straightedge and utility knife—score and snap for clean edges.
**3. Apply adhesive.** Run beads of construction adhesive on the back of the foam board in a zigzag pattern, about 12 inches apart. Press the board against the wall and hold for a few seconds. Most adhesives grab quickly.
**4. Fill gaps.** Use canned spray foam (like Great Stuff) to seal any gaps between boards and at the top and bottom edges. This is where the air-sealing magic happens.
**5. Tape the seams.** Use foil tape or specialized foam tape to cover all seams between boards. This keeps air from moving behind the insulation.
**6. Plan for framing (optional).** If you want to finish the basement later, you can build a 2x4 wall in front of the foam. Leave a small air gap if you’re in a very damp climate, but in most cases, the foam is the vapor barrier.
One thing I always tell homeowners: don’t rush the cutting. A tight fit makes a huge difference. Even a 1/2-inch gap can cut your insulation’s performance by 20% or more.
How Much Does It Cost and What’s the Payback?
Let’s talk numbers. For a typical 1,000-square-foot basement with 8-foot walls, you’ll need about 30 sheets of 4x8 rigid foam (if you cover all walls). At $30–$50 per sheet for XPS, that’s $900–$1,500 in materials. Add adhesive, tape, and spray foam—another $100–$200. If you hire a contractor, labor can double that. But if you DIY, you’re looking at around $1,500 for a well-insulated basement.
The energy savings depend on your climate and heating system. In a cold climate like Pittsburgh, **insulating basement walls with rigid foam** can cut your heating bills by 10–15%—roughly $200–$400 per year for a typical gas-heated home. That means a payback period of 4–7 years. Plus, your basement will feel noticeably warmer, and upper floors will be easier to heat.
But the non-energy benefits matter too. A warmer basement means less condensation on pipes and walls, which reduces mold risk. That’s huge for families with kids or anyone with allergies.

Common Mistakes to Avoid
I’ve seen homeowners make a few avoidable errors when they tackle this project. Here’s what to watch for.
**Skipping the moisture check.** If you insulate over damp concrete, the moisture gets trapped and can cause mold or wall degradation. Fix leaks before you start.
**Using the wrong thickness.** Check your local energy code. Most require at least R-10 for basement walls. In colder zones, R-15 or R-20 is better. A 2-inch XPS board is R-10; 3-inch is R-15.
**Not sealing seams.** People sometimes just butt the boards together and call it done. But air moves through those gaps, and that air carries heat and moisture. Tape every seam.
**Ignoring fire codes.** Rigid foam is flammable. If your basement is finished or used as living space, you need a thermal barrier like 1/2-inch drywall. Check your local code.
**Leaving gaps at the top.** Warm air rises and escapes through cracks. Use spray foam to seal the top edge where the foam meets the rim joist. That’s a major heat-loss spot in old houses.
Conclusion: Is It Worth It?
For most families living in older homes, **insulating basement walls with rigid foam** is a smart investment. It makes the basement drier, the house more comfortable, and the heating bill a little friendlier. You don’t need a perfect house—you need one that’s safe, dry, and honest. This project gets you closer to that goal.
If you’re not sure whether your basement is dry enough, or if you have questions about the right R-value for your climate, talk to a local insulation contractor or building inspector. But if you’re comfortable with some measuring and cutting, this is a weekend project that pays off for years.


No feedback yet — submit the first.