How to Choose and Install an Exterior Wall Moisture Barrier for Your Old House
If you live in an older home, you already know the struggle: damp basements, peeling paint, and a heating bill that climbs every winter. One of the most effective ways to stop moisture from wrecking your house and your health is to install an exterior wall moisture barrier. But here is the catch: old houses breathe differently than new construction. Slap the wrong barrier on your walls, and you can trap moisture inside the wall cavity, leading to rot and mold.
I have seen this mistake in almost every old house I have inspected. The homeowner meant well, but the contractor used a vapor-impermeable barrier on a wall that needed to breathe. Within a few years, the siding started buckling, and the sheathing was soft as a sponge. Replacing that siding cost thousands. A good exterior wall moisture barrier, installed correctly, prevents that nightmare.
So what exactly is an exterior wall moisture barrier? It is a layer of material placed on the outside of the wall sheathing, under the siding, that blocks liquid water from entering the wall assembly while allowing water vapor to escape. In building science terms, you want a water-resistive barrier (WRB) that is also vapor-permeable. This balance keeps the wall dry from both sides.
For an older home, you have to consider the wall construction. Many pre-1950 houses have no vapor barrier at all, which means the walls can dry inward or outward. Adding an exterior wall moisture barrier changes that dynamic. The goal is to make sure the assembly can still dry to at least one side. I will walk you through what to look for and how to get it right.

Why Old Houses Need a Different Approach to Moisture Barriers
Newer homes are built with a continuous air barrier and vapor control that matches the climate zone. Old houses, especially those built before World War II, rely on mass and air movement to stay dry. The siding, felt paper, and lath-and-plaster walls all contribute to a system that works—until someone adds insulation and a vapor barrier without thinking through the moisture dynamics.
When you install an exterior wall moisture barrier on an old house, you must consider the interior vapor drive. In a cold climate like Pittsburgh, warm, humid indoor air can push outward through the wall in winter. If the exterior barrier is too impermeable, that moisture gets trapped in the insulation or sheathing, leading to condensation and eventual rot. That is why I recommend vapor-permeable house wraps or drainage planes for most old-house retrofits.
Another issue: old houses often have irregular surfaces—rough lumber, overlapping sheathing, and wide gaps. A tall, fluffy house wrap may not seal properly. You might need a fluid-applied membrane or a self-adhered membrane that sticks to uneven surfaces. These cost more, but they save you from a failed barrier.
Types of Exterior Wall Moisture Barriers: From House Wrap to Rigid Foam
You have several options for an exterior wall moisture barrier, each with pros and cons. Here is how they stack up for an older home.
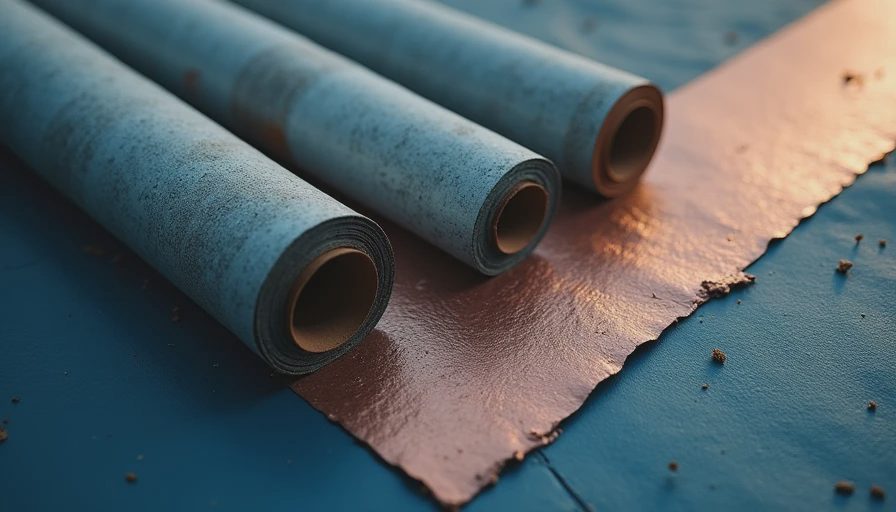
House wrap (polyolefin or polypropylene) – This is the standard material on new construction. It is vapor-permeable, so it lets moisture out while blocking bulk water. But it can be tricky to install on old walls with uneven surfaces. You need to tape every seam and penetration carefully. Brand names like Tyvek HomeWrap are common. For a typical old-house re-siding project, this is a solid choice.
Self-adhered membranes (peel-and-stick) – These are rubberized asphalt sheets that stick directly to the sheathing. They are completely water- and air-tight, but some versions have very low vapor permeability. If you use this on an old wall, make sure the interior side is permeable enough to dry inward. I have seen this fail when the interior had vinyl wallpaper or oil-based paint that blocked vapor. Best used on walls with a ventilated rainscreen gap or in hot-humid climates.
Fluid-applied membranes – These are liquid coatings that you roll or spray onto the sheathing. They cure into a flexible, seamless barrier. Great for irregular surfaces and complex details like window corners. Many are vapor-permeable. They cost more per square foot but save labor on taping. For a DIYer, they can be messy; I would hire a pro for this one.
Rigid foam insulation with taped seams – Some homeowners use foam boards as both insulation and a water-resistive barrier. The foam itself is an air barrier, but you need to tape the joints and seal edges. The vapor permeability depends on the foam type: XPS (extruded polystyrene) has low perm, while EPS (expanded polystyrene) has higher perm. For old houses, I lean toward EPS with a drainage gap.
Each of these materials can work, but the key is matching the permeability to your climate and the rest of your wall assembly. A good rule of thumb: in cold climates, the exterior barrier should be at least as permeable as the interior vapor retarder. If you are not sure, consult a building science resource or a local energy auditor.
Step-by-Step: Installing an Exterior Wall Moisture Barrier the Right Way
If you are planning a re-siding project or opening up the walls for insulation, here is the sequence I recommend.
- Remove old siding and inspect sheathing. Look for rot, insect damage, or soft spots. Replace any compromised sheathing with plywood or OSB of the same thickness. Old diagonal board sheathing can stay if it is sound, but you may need to add a layer of rigid foam or a new sheathing panel over it to get a flat surface.
- Air seal large gaps – Use caulk or spray foam to seal any openings around windows, doors, and sill plates. An exterior wall moisture barrier is not a primary air seal; it works best when the wall cavity is already reasonably tight.
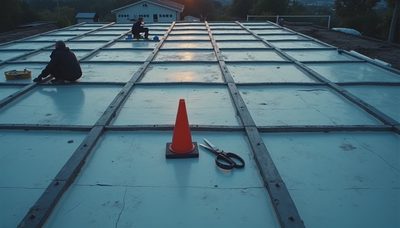
- Install the moisture barrier – Start at the bottom of the wall, overlapping horizontal seams by at least six inches, and vertical seams by at least four inches. Use manufacturer-recommended tape for all overlaps and penetrations. If you are using house wrap, staple it loosely so it can move with the building.
- Add a rainscreen gap – This is critical for old houses. A 3/4-inch gap between the moisture barrier and the siding allows any incidental water to drain and lets the wall dry. Use furring strips or a specialized drainage mat. Without this gap, you risk trapping moisture behind the siding.
- Install siding and flashings – Window and door flashings should integrate with the moisture barrier. Use sill flashings, jamb flashings, and head flashings that overlap the barrier. This is where most failures happen: water finds a pinhole and runs behind the barrier.
Common Mistakes When Installing an Exterior Wall Moisture Barrier
I have seen three mistakes over and over.
Using a vapor barrier where a vapor-permeable barrier is needed. A true vapor barrier (like 6-mil polyethylene) has a perm rating below 0.1. On an old wall where the interior has no vapor retarder, this can trap moisture and cause rot. Stick to materials with a perm rating of 5 or higher unless you have a specific reason to go lower.
Not taping seams. House wrap without taped seams is just a water-shedding surface. Water will get in through the overlap gaps. Spend the money on good tape and take the time to press it firmly.
Ignoring the foundation connection. The moisture barrier must extend below the bottom edge of the siding and overlap the foundation waterproofing or termite shield. If it stops short, water can run down inside the wall. I always run the barrier at least two inches below the bottom of the sheathing.
Remember: you do not need a perfect house. You need a house that is safe, dry, and honest. A properly installed exterior wall moisture barrier keeps moisture out, lets vapor out, and gives your old house a fighting chance against decay. That is worth every penny of the investment.


No feedback yet — submit the first.