
If you own a property with a private well, knowing how to install a well pump can save you hundreds or even thousands of dollars in labor costs. I have helped dozens of homeowners in western Pennsylvania replace or install well pumps, and while it is not a beginner-level job, it is absolutely doable for a confident DIYer with the right preparation. This guide covers the essentials—from choosing the right pump type to safety precautions and final testing.
Before You Start: Know Your Well
The first step to a successful installation is understanding your well. Most residential wells are either shallow (less than 25 feet deep) or deep (more than 25 feet). Shallow wells typically use a jet pump installed above ground, while deep wells require a submersible pump lowered into the casing. Check your well log if you have it, or measure the static water level with a weighted string. Also note the casing diameter—common sizes are 4, 5, or 6 inches—since your pump must fit.
Another critical factor is your household water demand. A standard 3-4 bedroom home with two bathrooms usually needs a pump that delivers 10–15 gallons per minute (GPM) at 40–60 psi. If you have irrigation or a large family, you might need more. Brands like Grundfos, Goulds, and Flotec offer reliable options. I have installed several Grundfos SQ series pumps; they are easy to wire and have built-in protection against dry running.
Step 1: Gather Tools and Materials
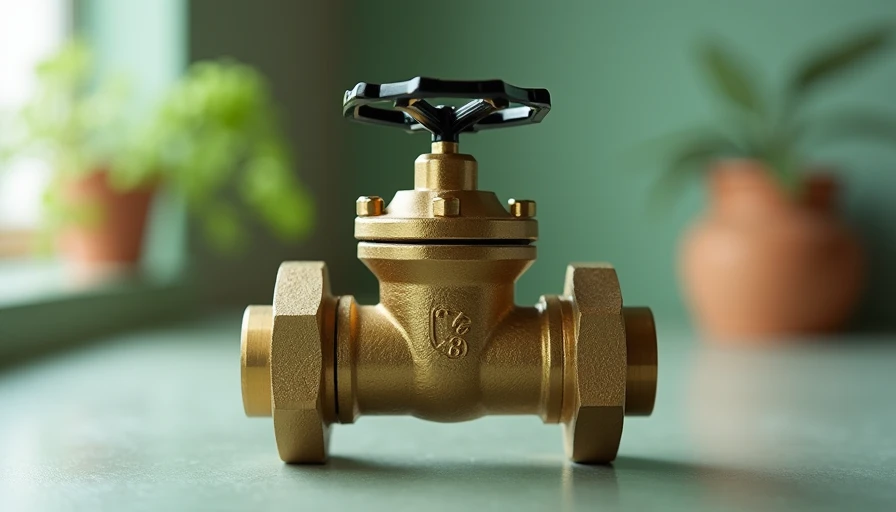
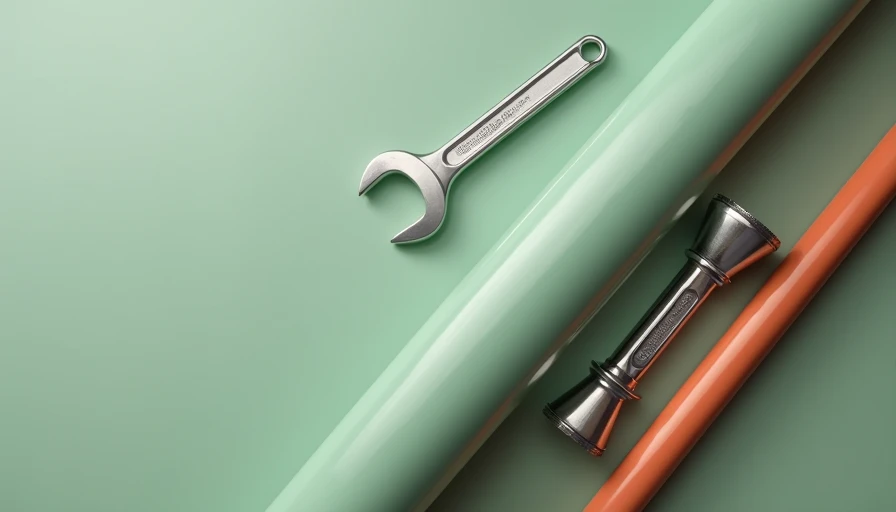
You will need basic plumbing and electrical tools: pipe wrenches, Teflon tape, a hacksaw, a multimeter, wire strippers, and a torque arrestor for submersible pumps. Also buy a new control box if your pump requires one (many modern pumps have built-in controls). For submersible pumps, a safety rope is essential—attach it to the pump so you can pull it back up if the drop pipe breaks. Do not skimp on the check valve; a failed check valve leads to water hammer and short cycling. A 20-gallon or larger pressure tank is recommended to reduce motor starts.
Step 2: Remove the Old Pump (If Replacing)
Turn off power at the breaker. Drain the pressure tank and open a faucet to relieve pressure. For submersible pumps, disconnect the wiring at the wellhead and carefully pull the drop pipe and pump. Use a pipe puller if the pipe is stuck. Inspect the old pump for signs of wear—sand or rust may indicate well debris issues. If replacing a shallow well jet pump, simply disconnect from the well piping and remove.
Step 3: Install the New Pump
For submersible pumps, attach the check valve to the pump discharge, then connect the drop pipe. Use steel or PVC pipe suitable for potable water. Lower the pump slowly into the well, making sure the electrical cable does not chafe against the casing. Secure the safety rope at the well seal. Wire the pump according to the manufacturer’s diagram—typically two wires plus a ground. Use waterproof wire connectors. For jet pumps, mount the pump on a solid base near the well and connect suction and return lines. Prime the pump by filling the casing with water before startup.
Step 4: Connect and Test
Connect the pump discharge to the pressure tank line. Turn on the breaker and check the pressure gauge. The pump should build pressure to the cut-off setting (usually 60 psi). Open a faucet to let air out; the pump should cycle on when pressure drops to cut-in (40 psi). Listen for unusual sounds like grinding or rapid cycling—these indicate air in the line or a faulty check valve. Let the system run for several minutes to flush any debris. Test water clarity after 10 minutes.
Common Mistakes to Avoid
One of the biggest errors is using a pump that is too large for the well, causing the pump to run dry and burn out. Another is failing to install a pressure relief valve—if the pressure switch fails, the tank could burst. Also, do not overtighten PVC threads; hand-tight plus a quarter turn is enough. I once saw a homeowner crack a pump housing by using a wrench instead of Teflon tape.
When to Call a Pro
While installing a well pump is feasible for a capable DIYer, some situations demand a professional. If your well is deeper than 200 feet, you may need a special pump puller. If you are uncomfortable with electrical work (especially 220V circuits), hire a licensed electrician or well driller. The cost of a professional installation runs $1,200–$2,500, but a failed DIY attempt can cost more in repairs.
Final Thoughts
Knowing how to install a well pump is a valuable skill for homeowners with a private well. It gives you control over one of the most important parts of your water system. Start with a solid plan, use quality components, and do not rush the wiring. If you take your time, you can have a reliable water supply for years to come. And remember—you do not need a perfect installation. You need one that is safe, leak-free, and proper for your well.


No feedback yet — submit the first.